I was lucky enough to receive a Lomography Konstrucktor F DIY 35mm camera through the company that I work for (I don’t work for Lomography.com) as they wanted someone to build it so they could take photos of it for their own retail web site. Lucky me eh? This article is all about building the camera and what I thought about it. Part 2 will be about using the camera once I’ve had a chance to try it out and get the film developed.
It’s probably best to admit that I don’t have a lot of interest in using film for photography. I am an out and out digital photographer. I’ve done the tour of duty of scanning in slide film and negatives, but digital made the whole process faster and easier and meant I could spend more time taking photos and without the wait to see if what you’ve taken worked out. But, this kit interested me. I’m a bit of a LEGO geek and have an engineering background, so actually building a camera and then using it appealed to me. So let’s begin.
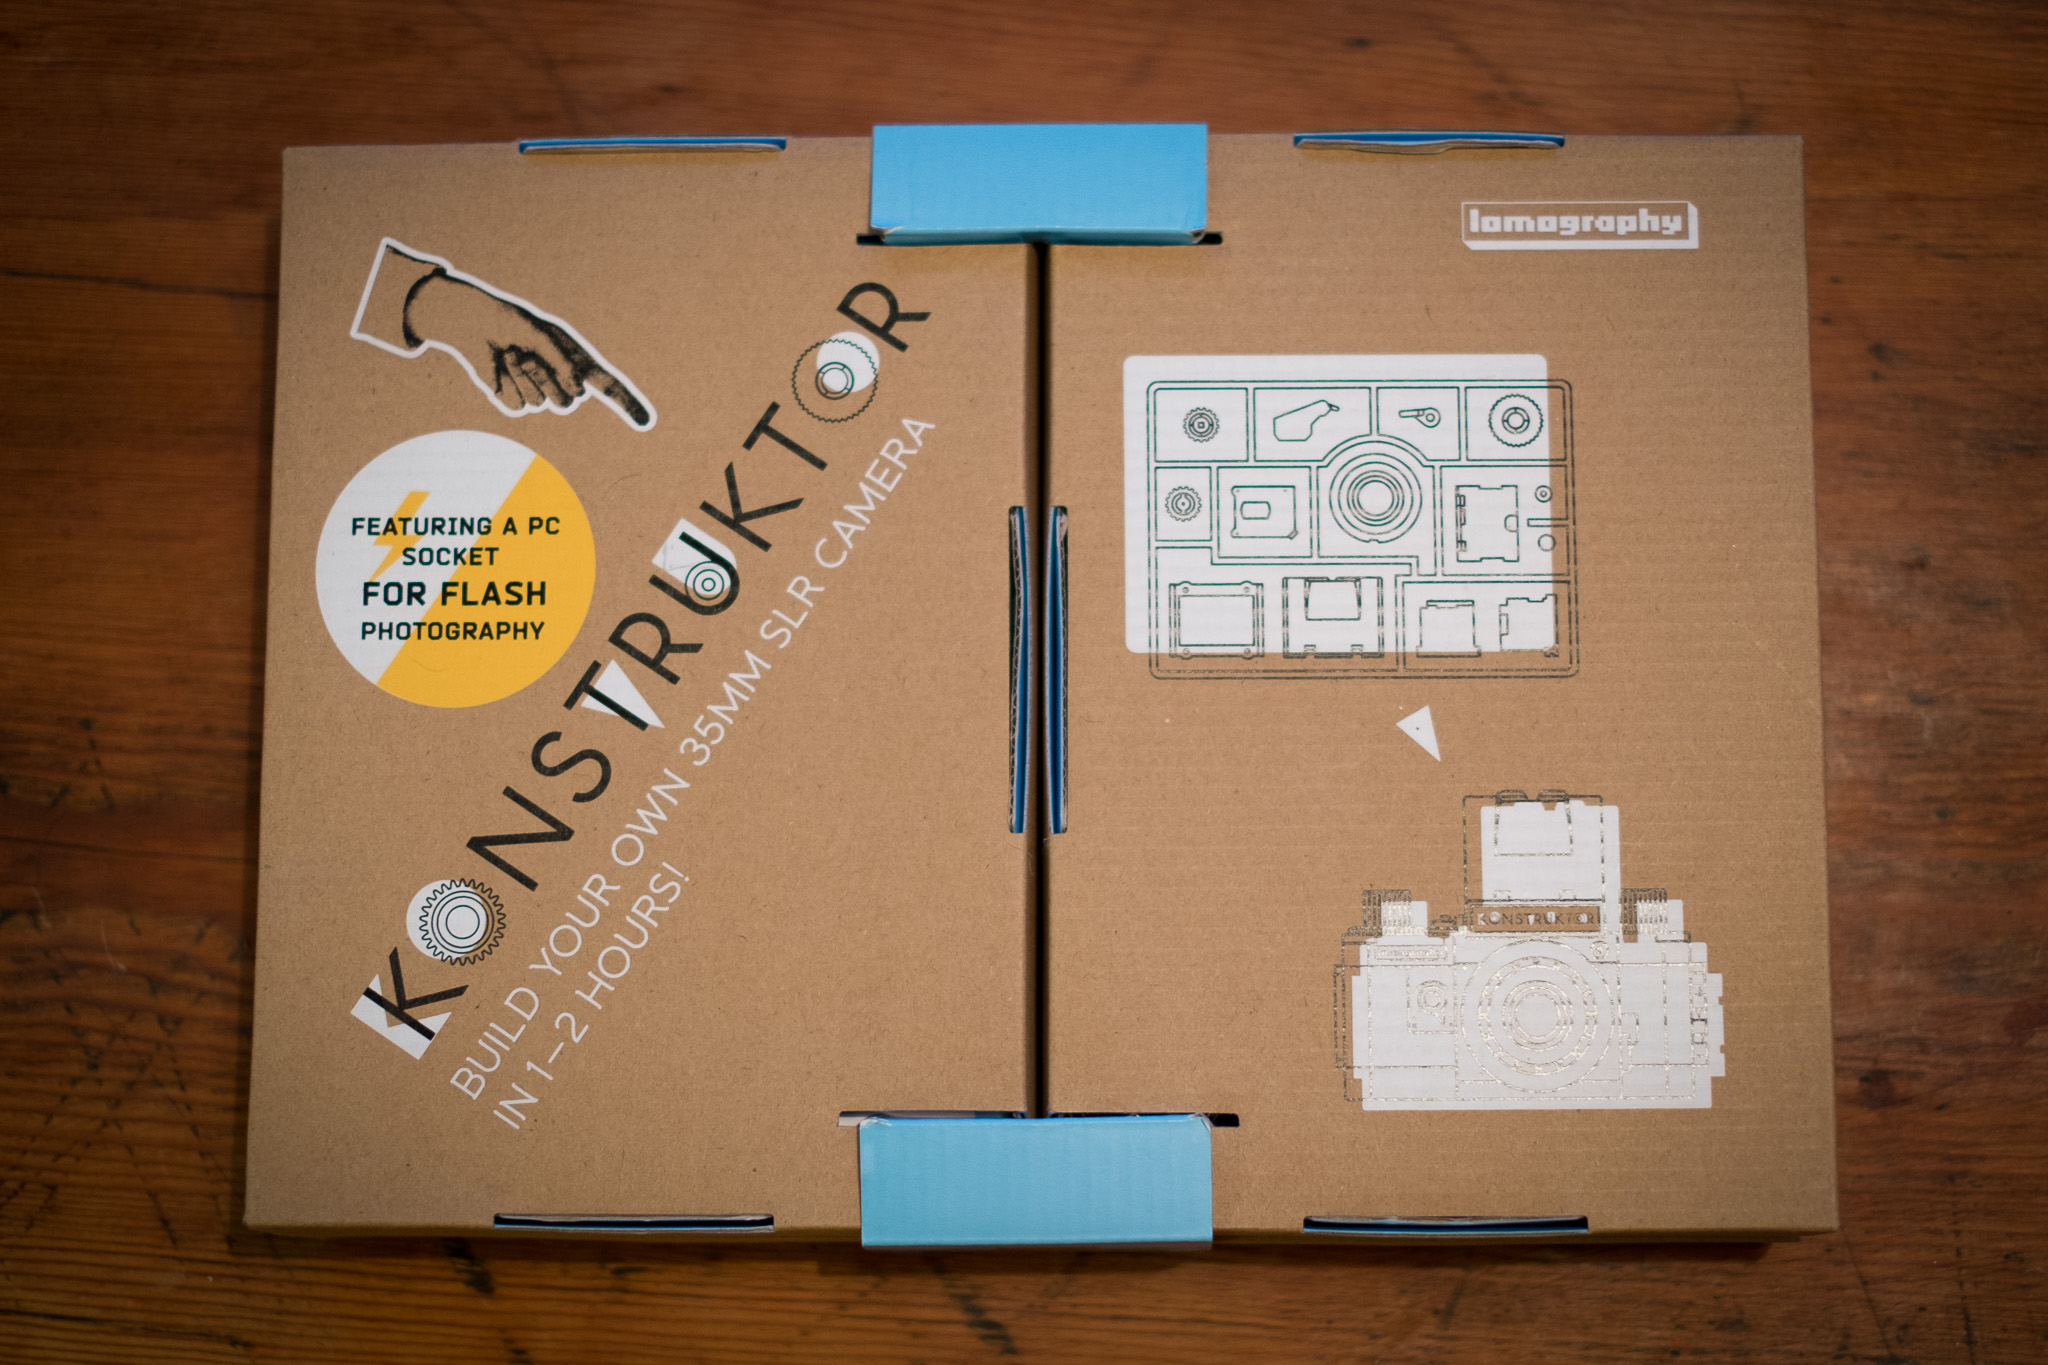
The all important unboxing began and you can see that thought has been put into the packaging. You open it up, fold it out and everything you need is presented to you. The box contains everything you actually need, but I also used a stanley knife just to tidy up the plastic after taking it out of the plastic frame.
Another essential to have with you during a build like this is another camera so you can document it. For that I used my Fuji X-Pro1 with a 35mm lens. I used natural light from a window for the images to keep it simple.
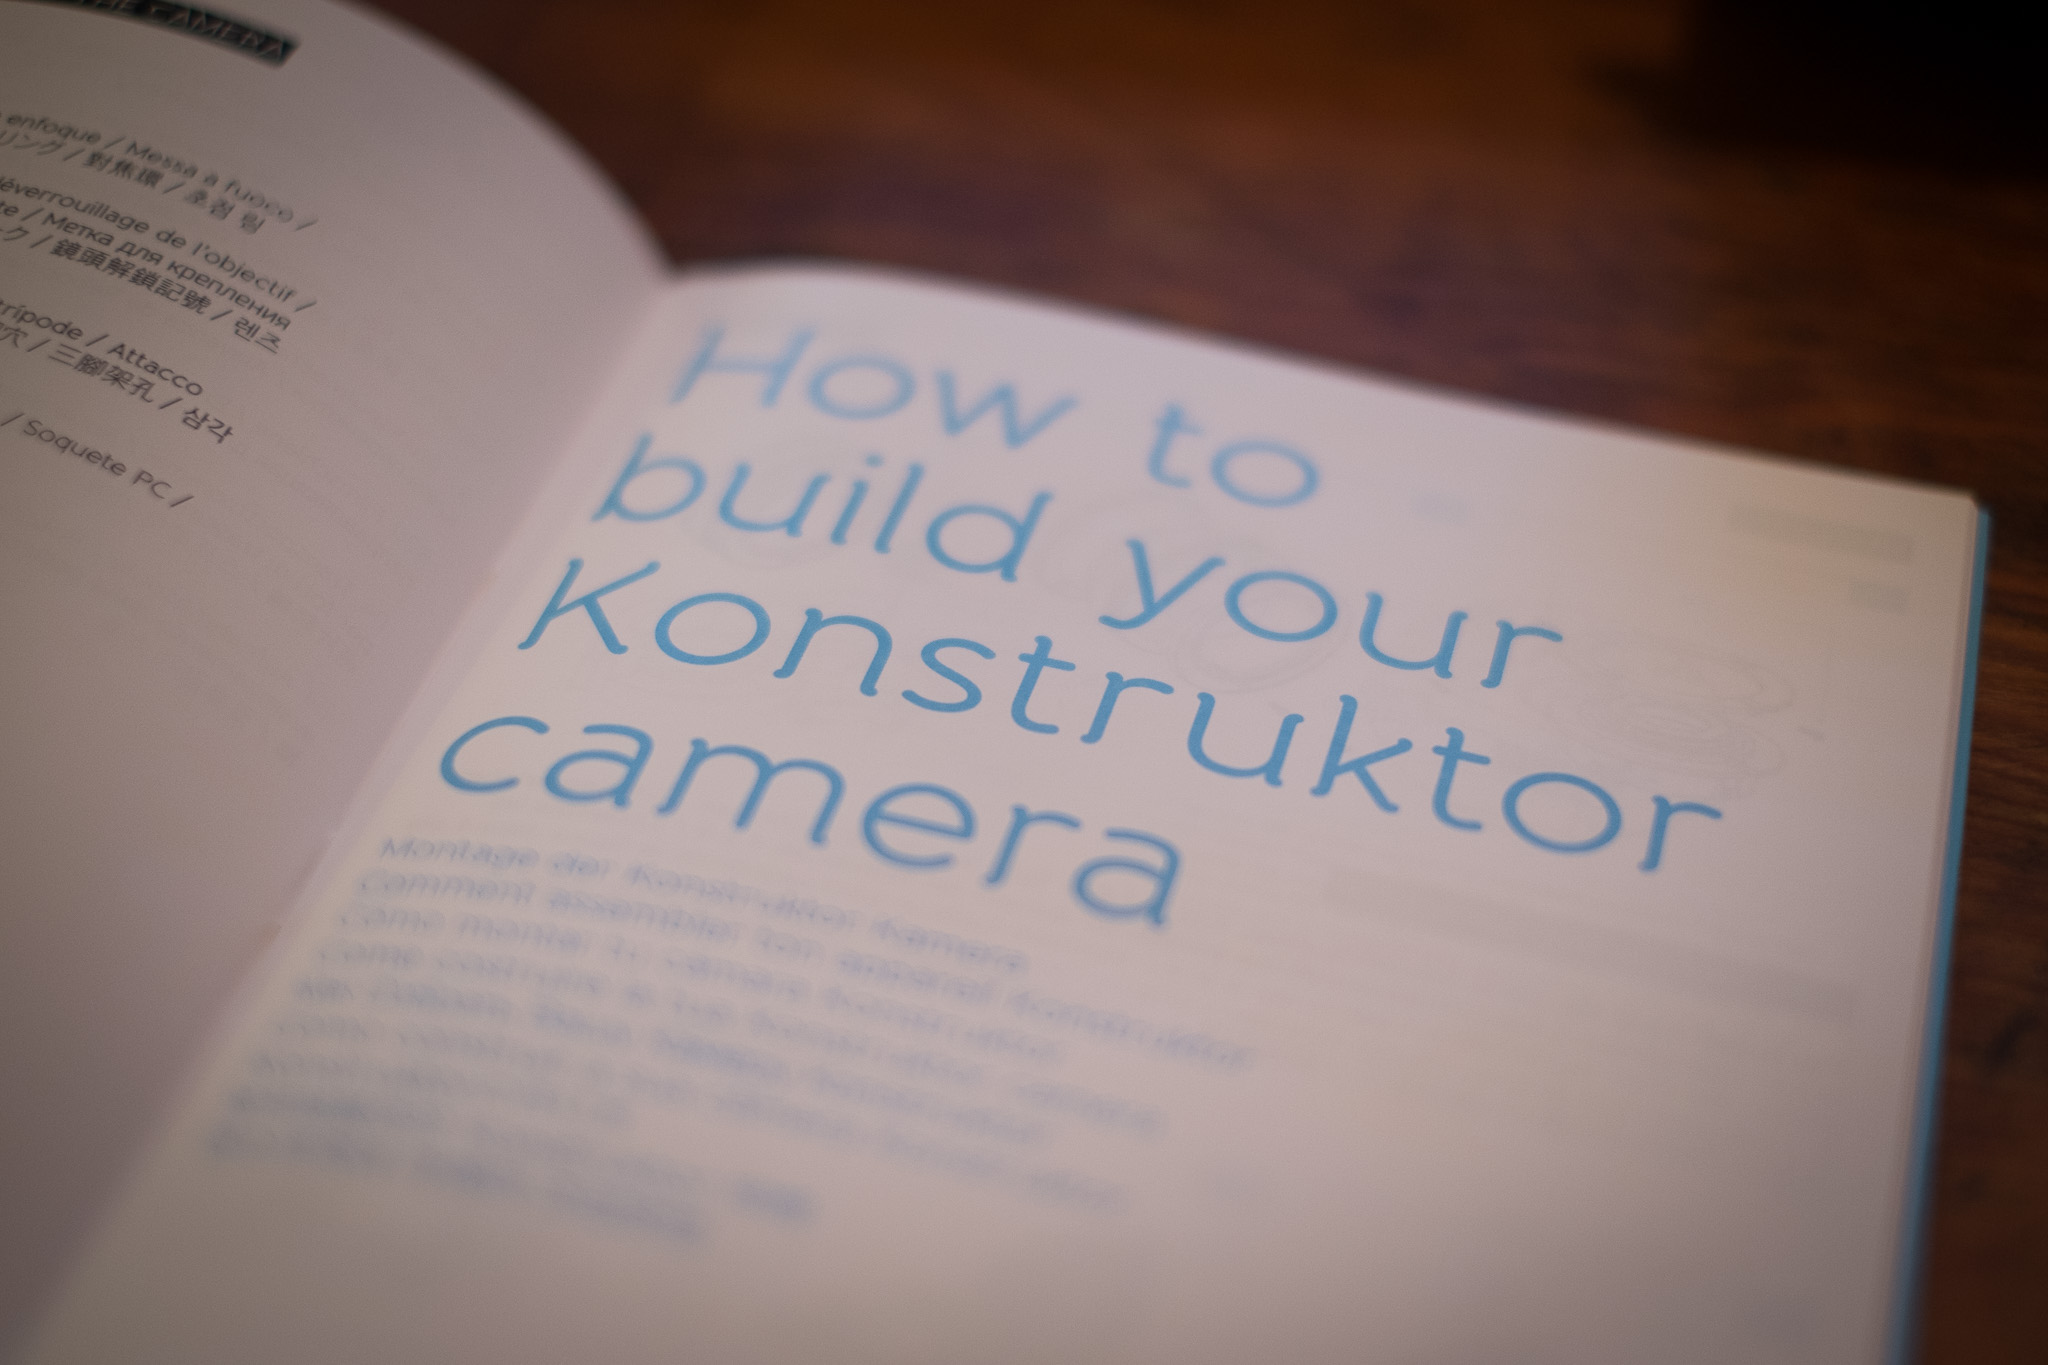
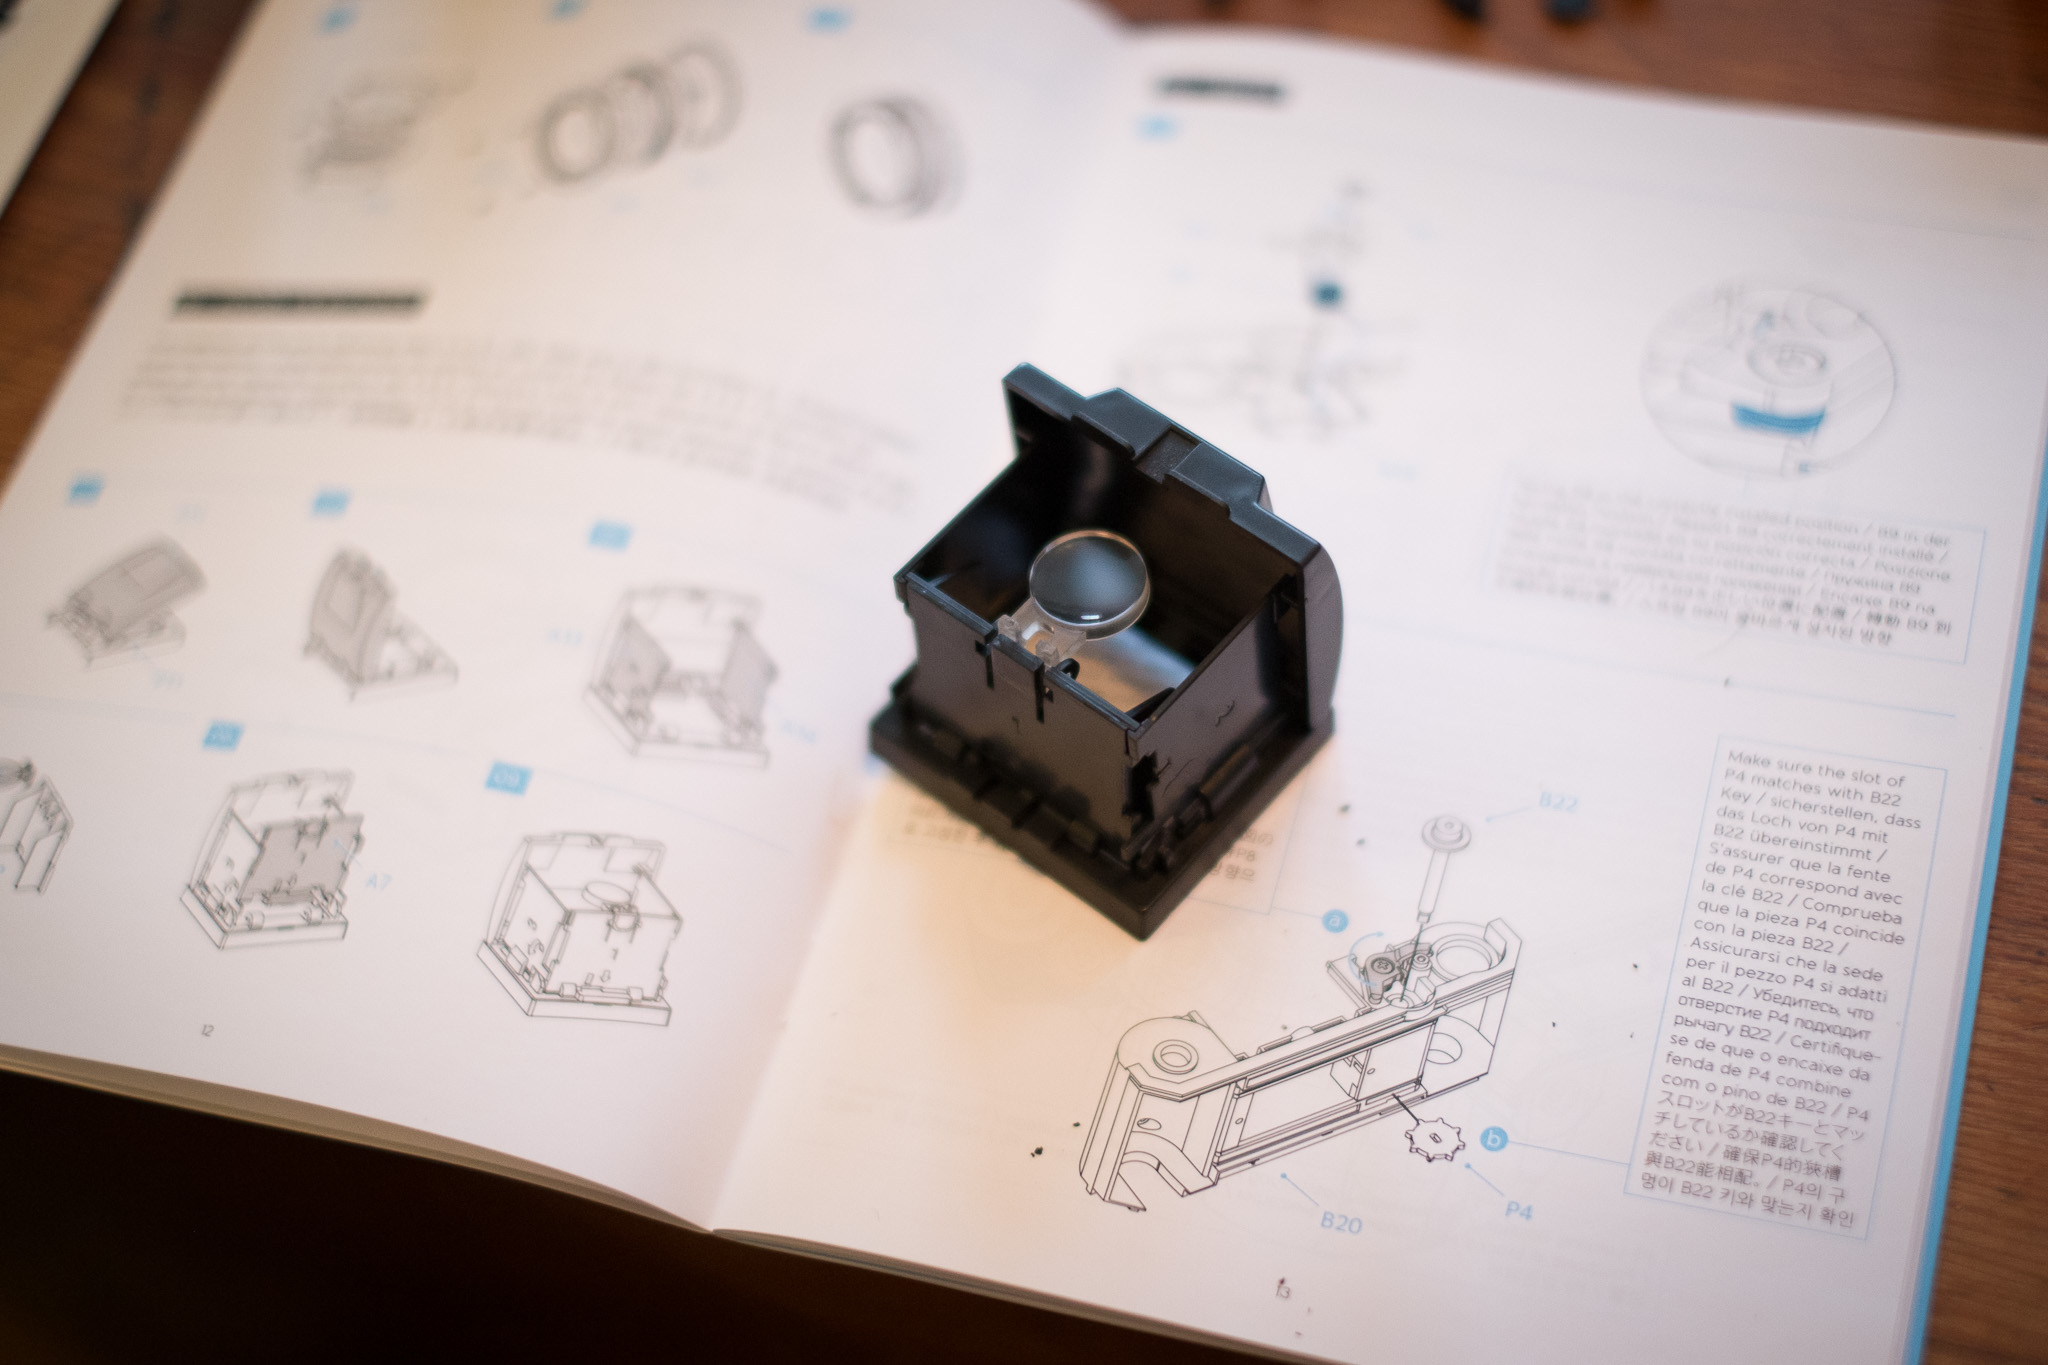
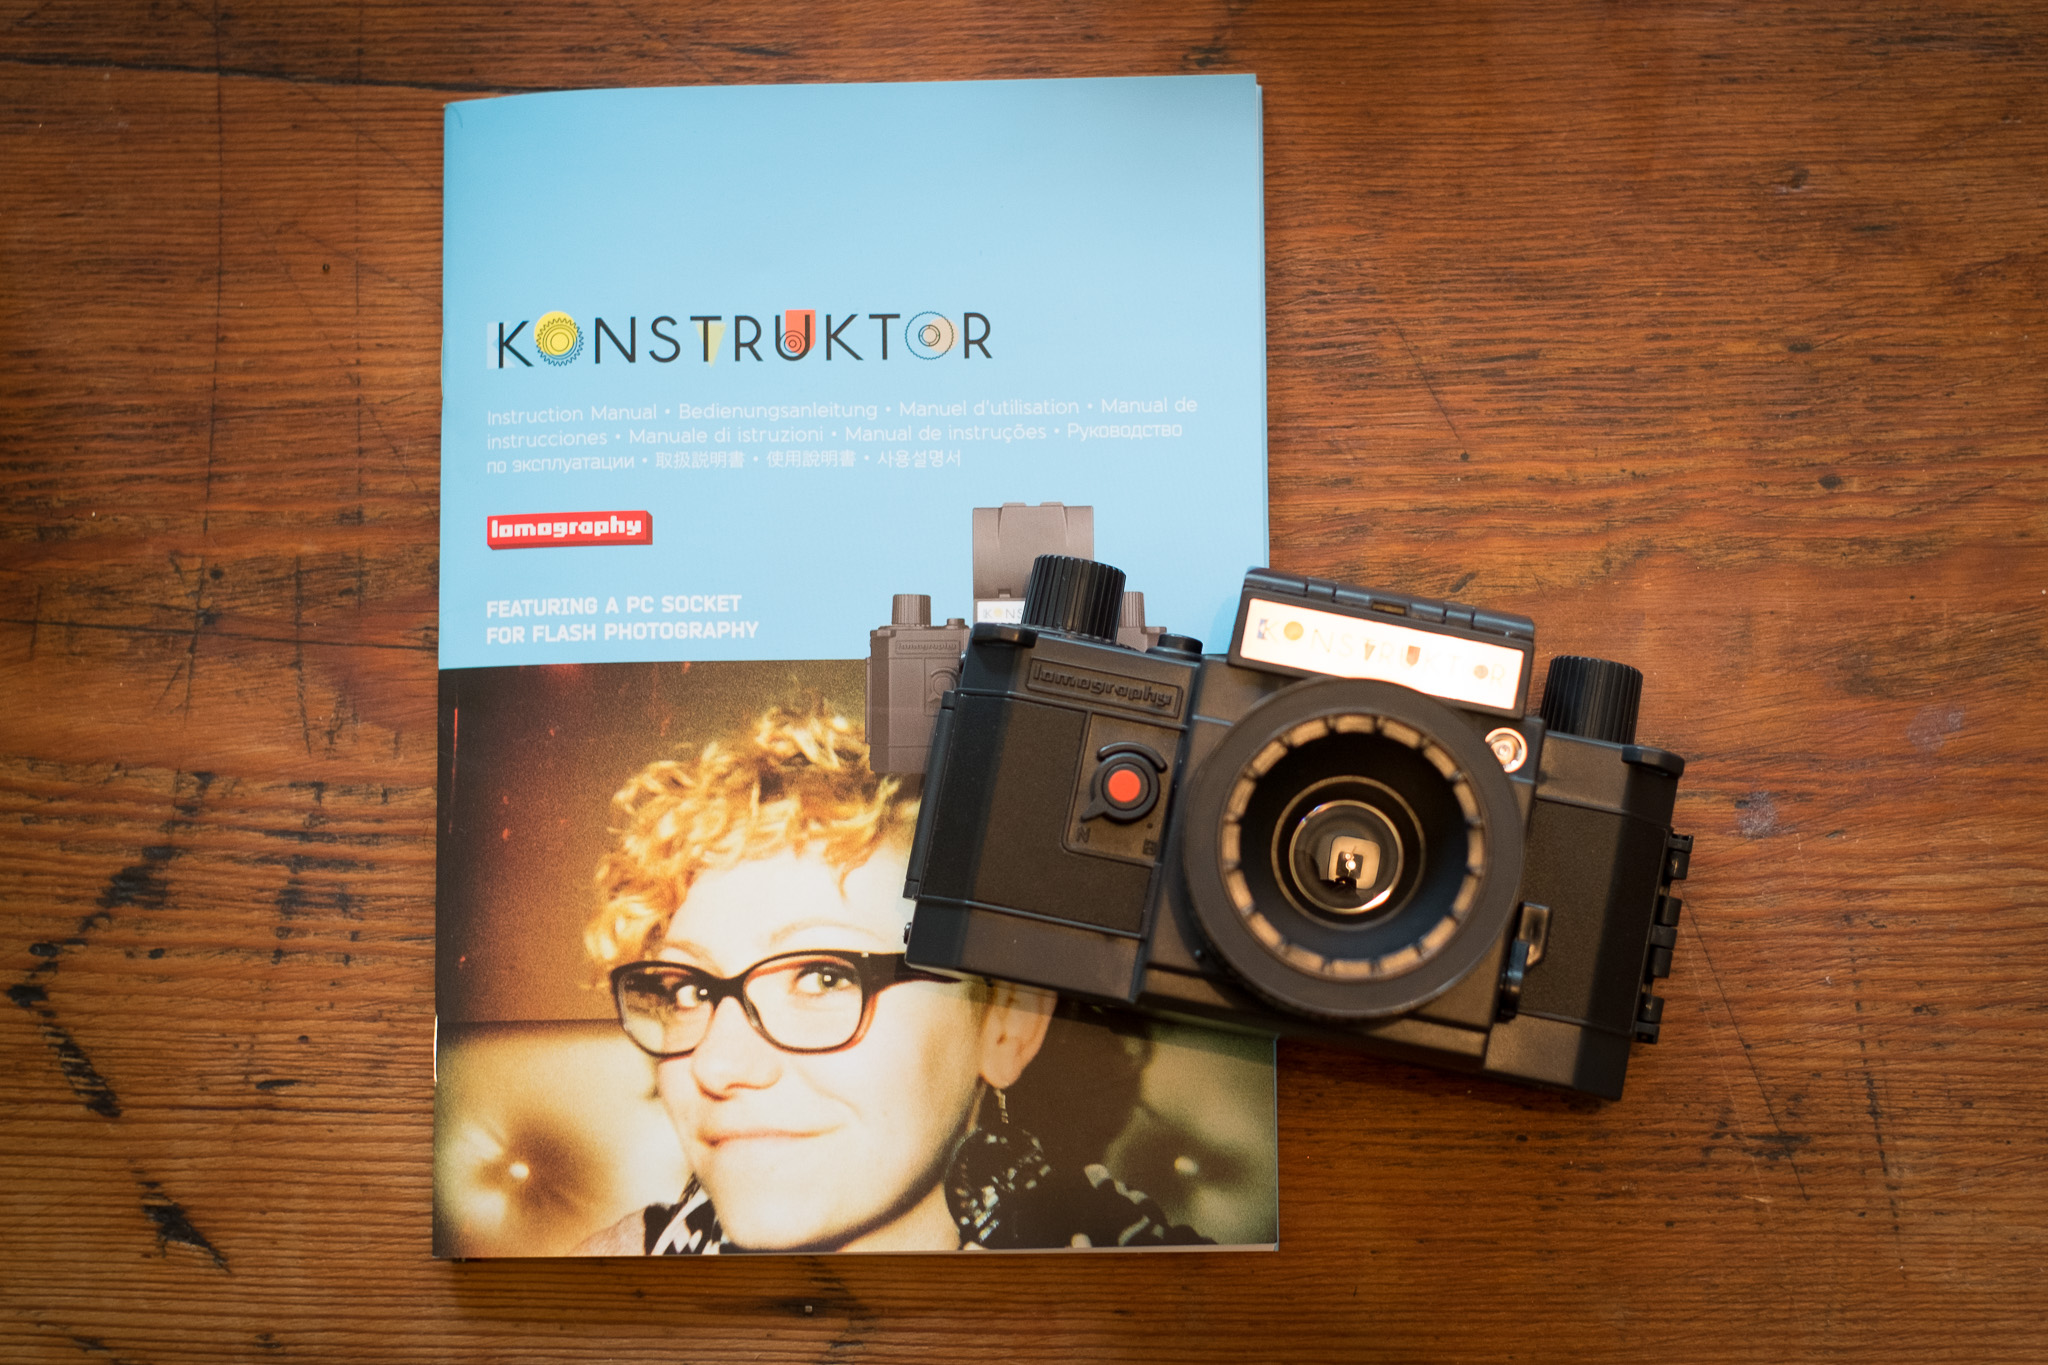
The documentation is ok, but I think the designer could learn a lot from LEGO instructions. Some of the steps proved to be less than obvious, but with a little thought and logic, they were easily worked out. So let’s get started. First of all you build the lens.
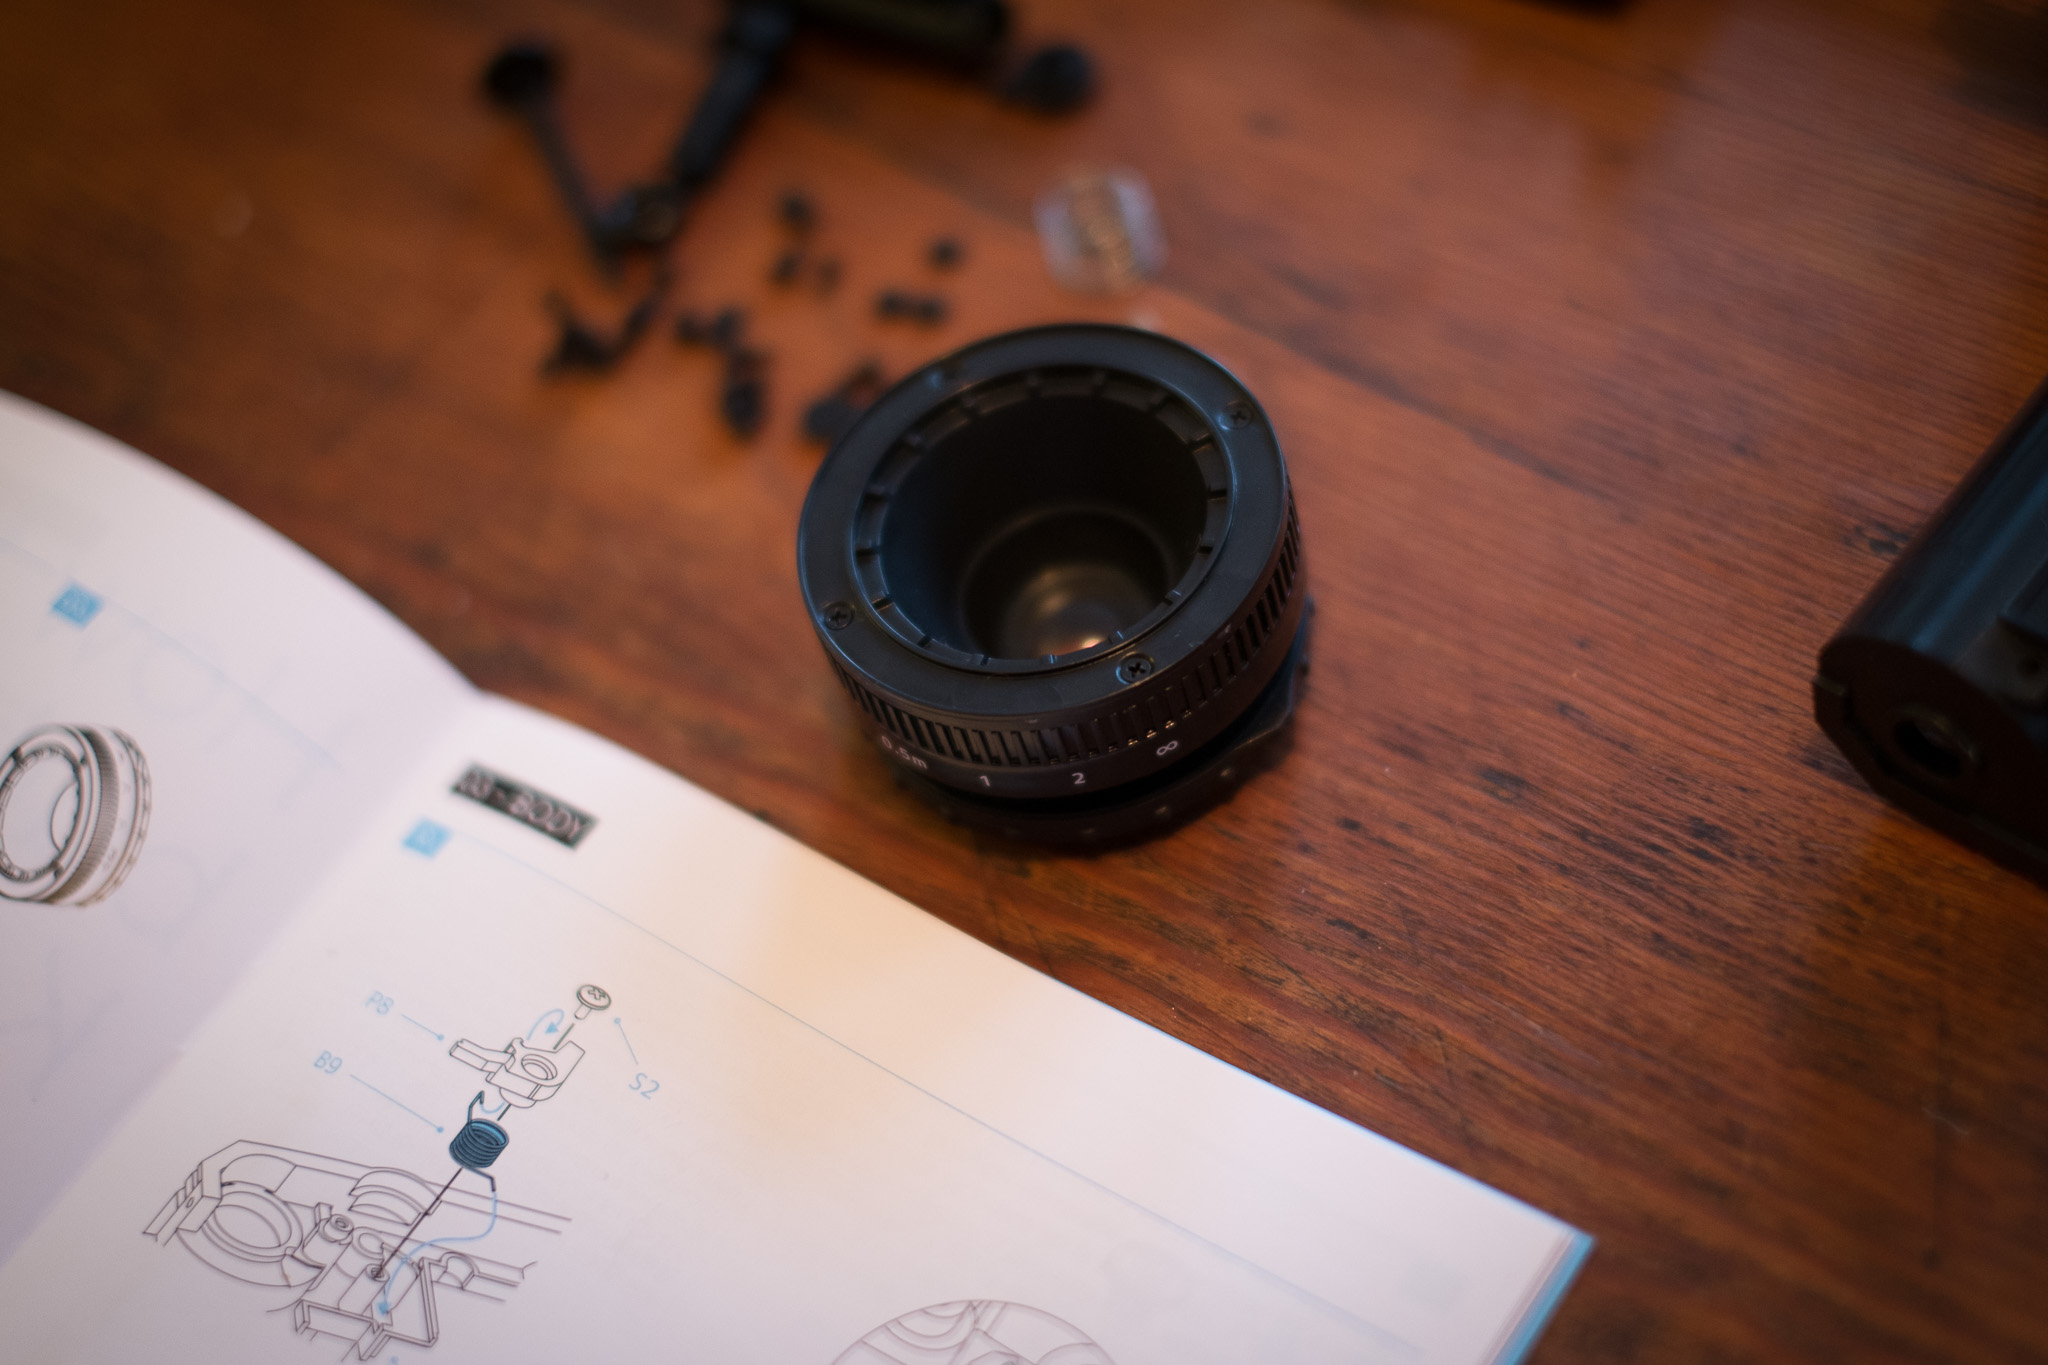
Not particularly complicated, three parts and it was just a little tight to get it together and line up the holes to get the tiny screws in. You never know just how tight to make these things, the last thing you need is for something to snap. So be careful and don’t force anything. You do get a decent tiny screw driver with the kit which is good to see.
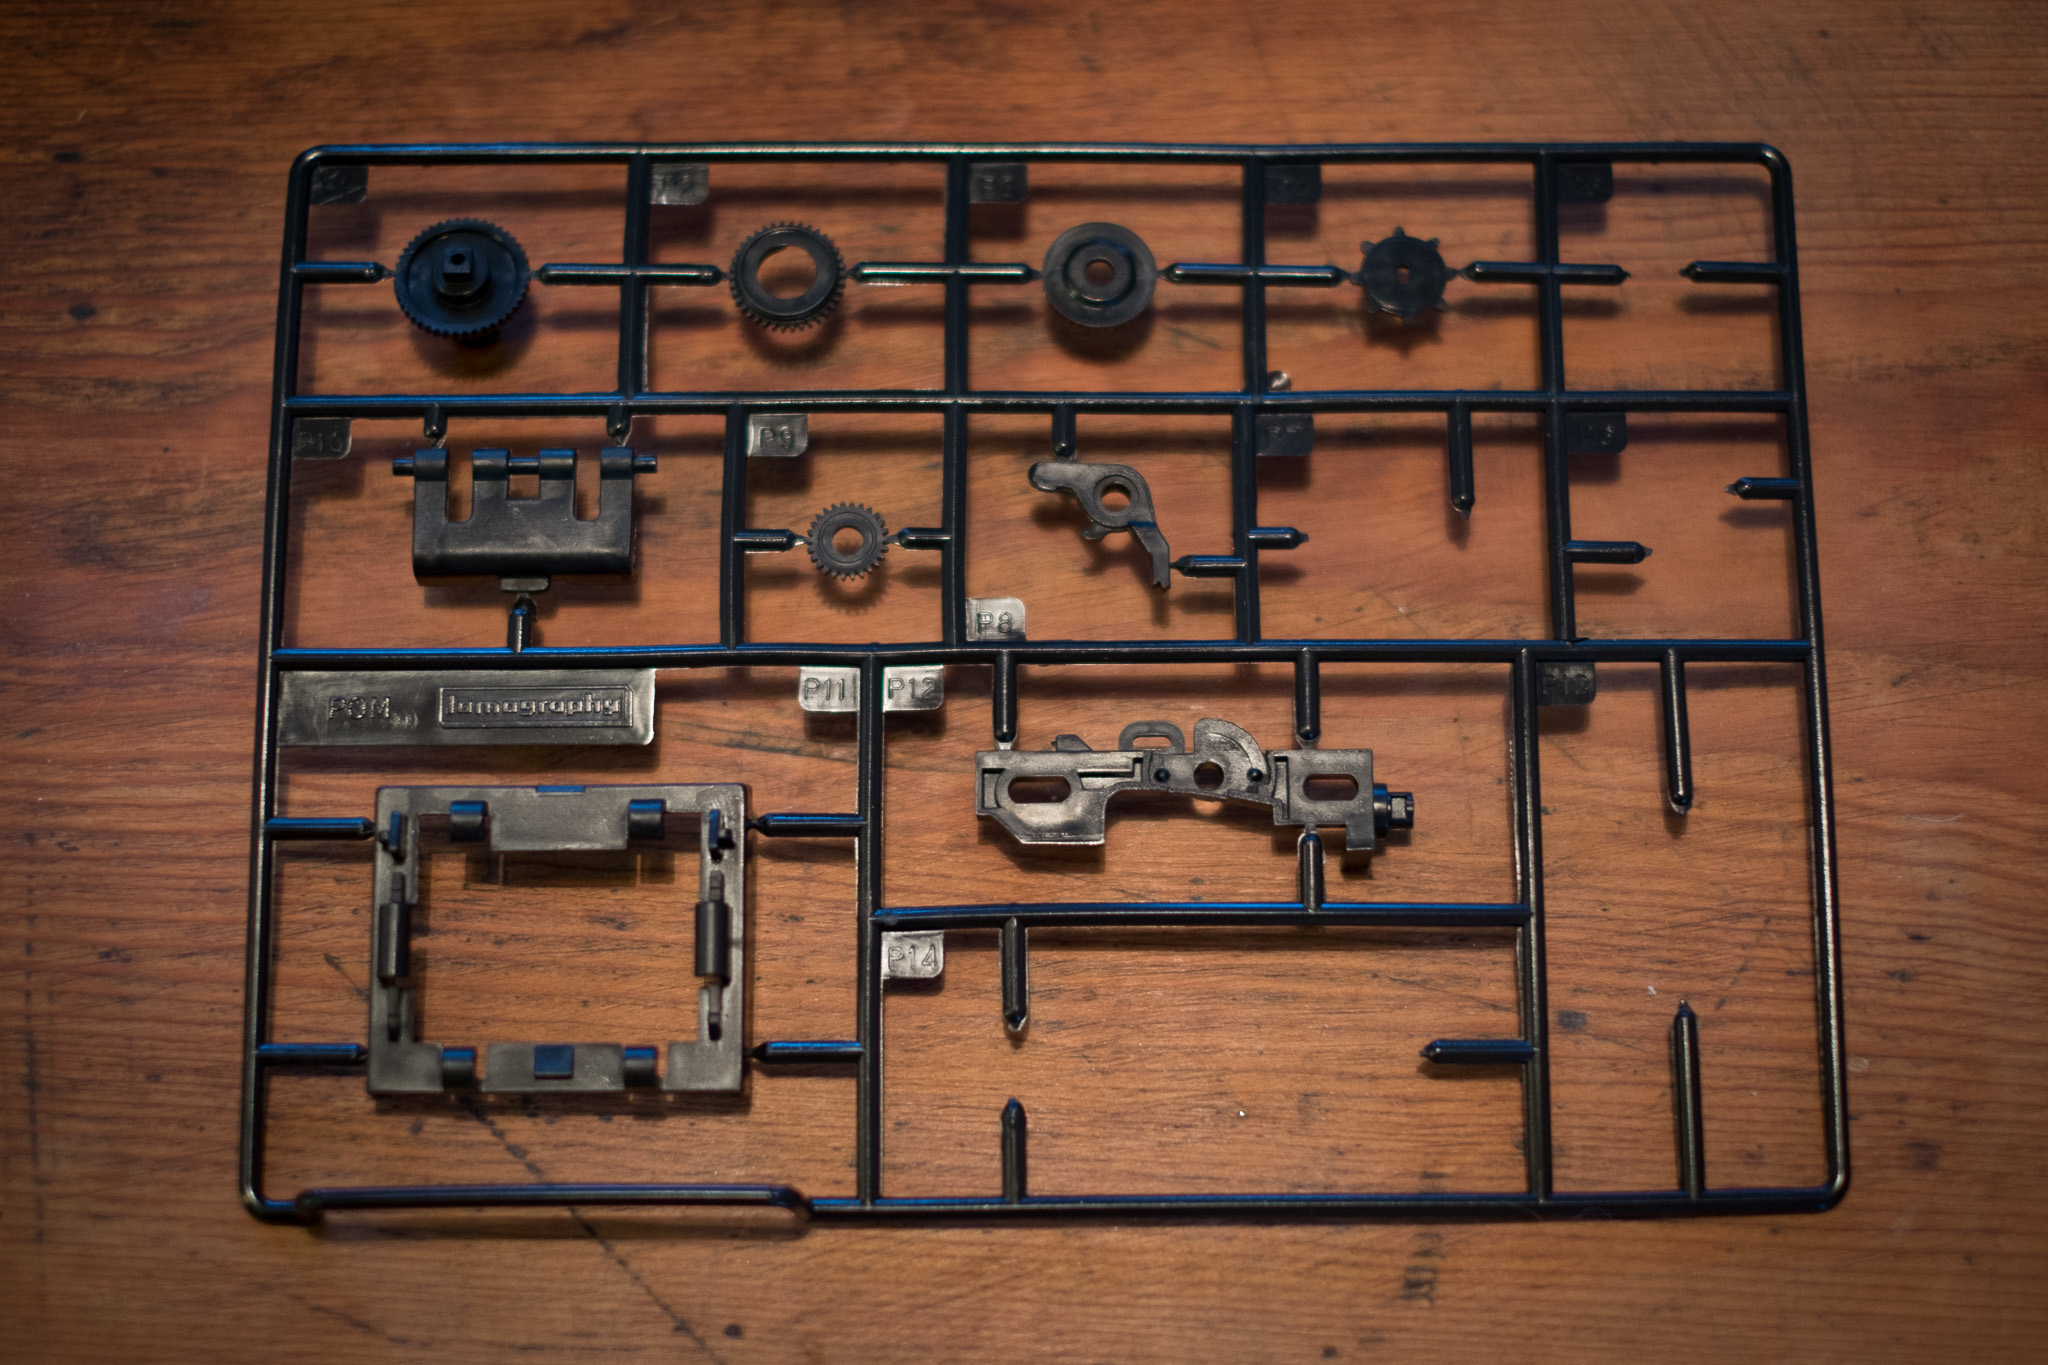
There aren’t actually that many parts to the build, but I could already see it was going to be pretty fiddly. For some people, a set of tweezers might be handy to help clip springs in place, but I managed to cope without them even with my banana hands.
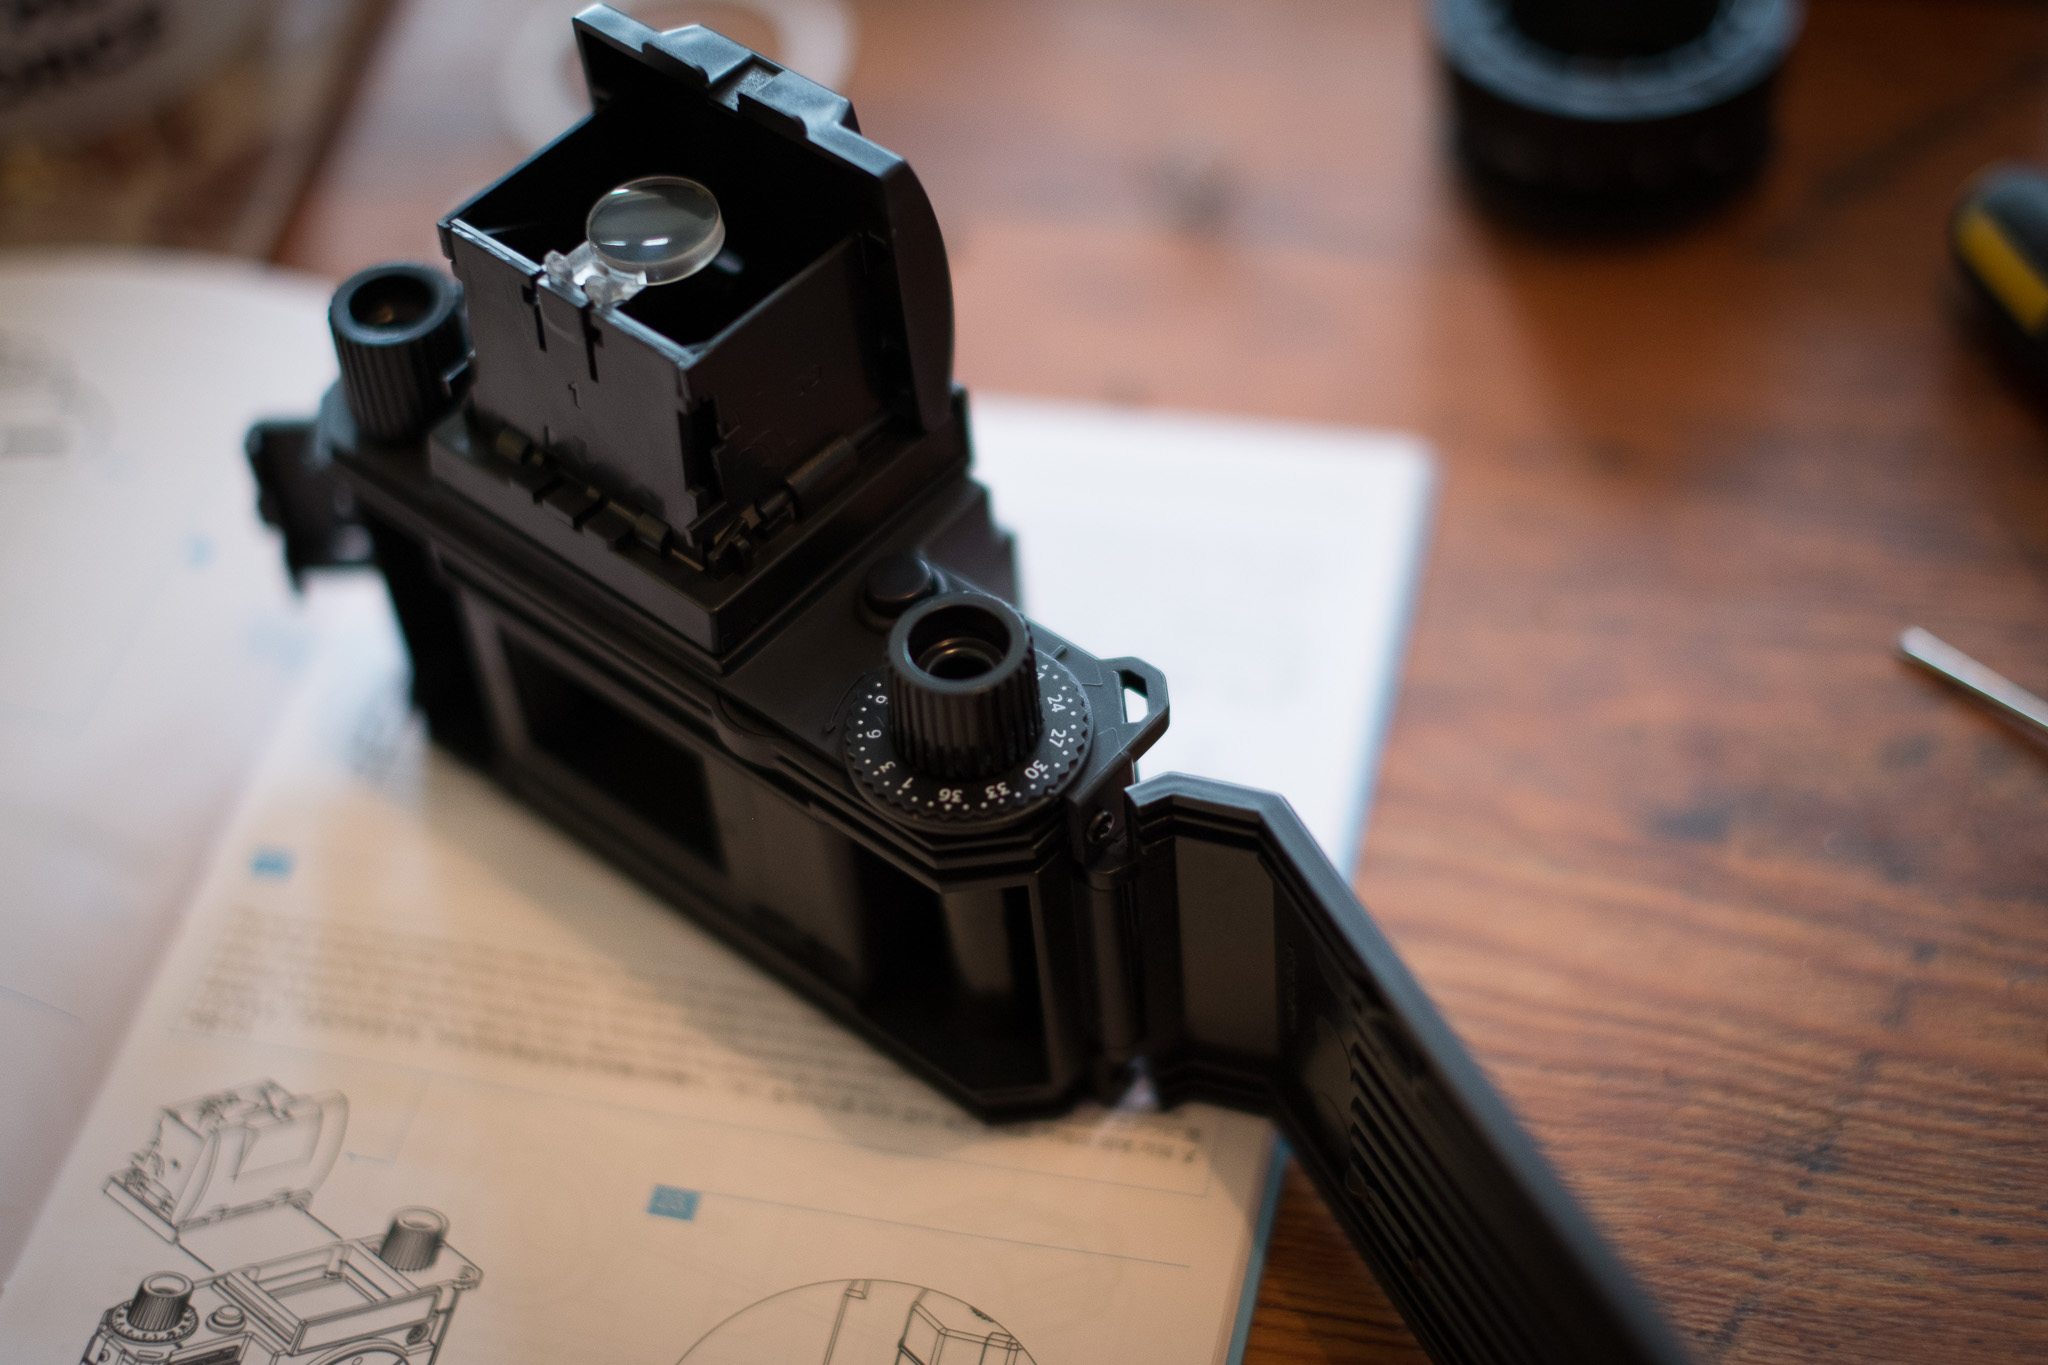
After the lens, you build up the twin lens reflex view finder housing. This is a top down view finder like you see on some of the older film cameras and it made me think of Vivian Maier, one of my favourite photographers, and the way she took most of her images. Looking down, with a waist height view point. I was actually looking forward to trying this camera out.
Again, the instructions could have been a little clearer. I got the small lens round the wrong way initially so it didn’t fold flat. Easy to sort out once I realised though.
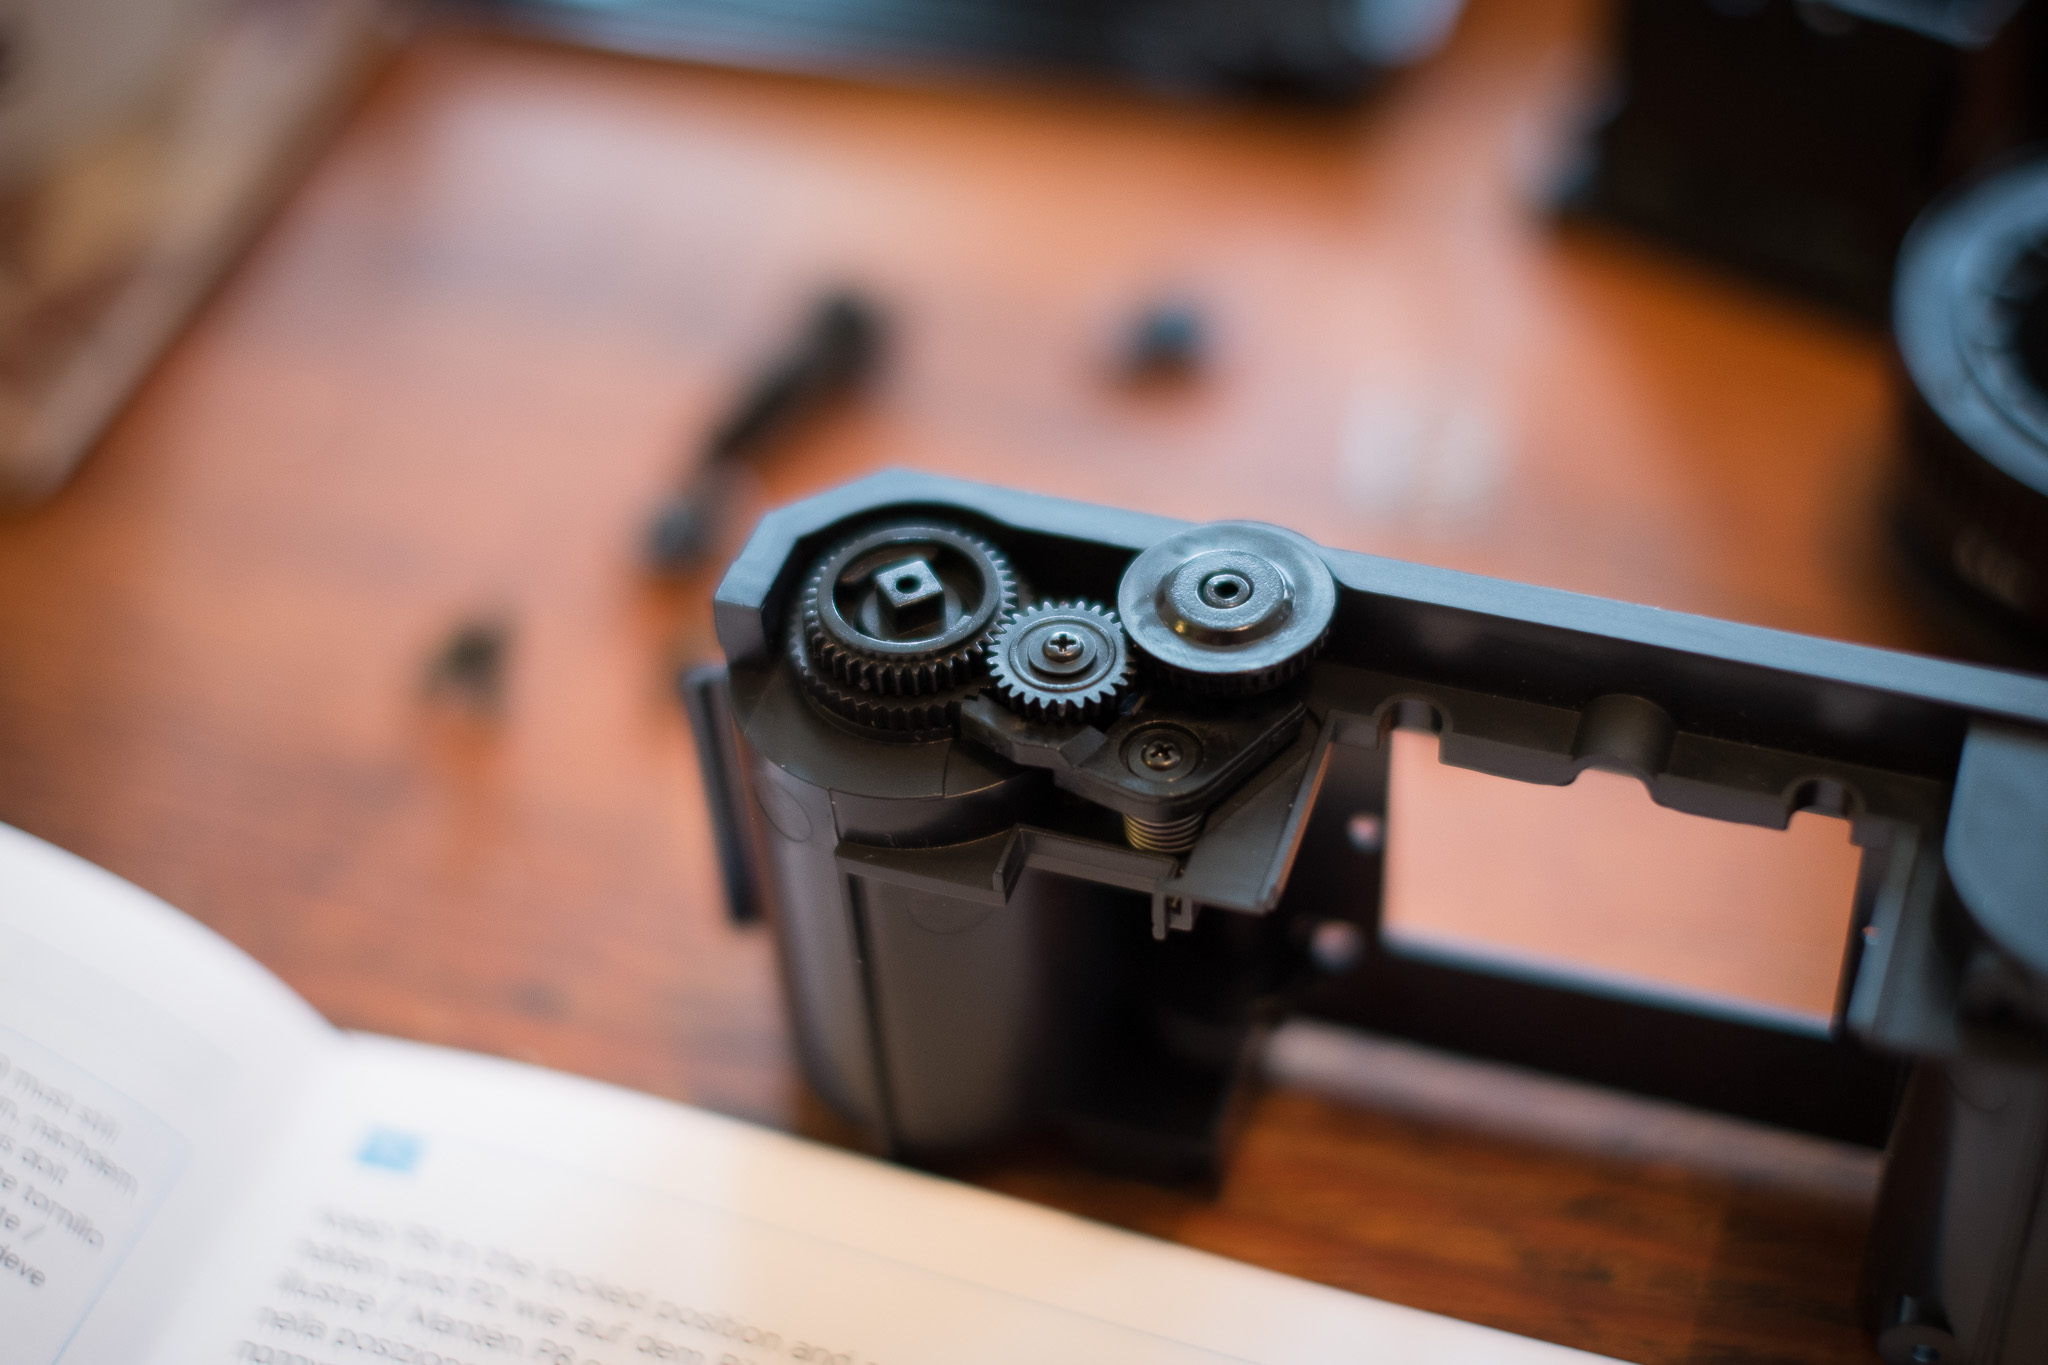
Next comes the shutter button and film winder. This is probably the most complicated part as it’s the most intricate. The little spring is easy to lose so it’s a good job an extra one was provided just in case. It all fits together nicely but pay attention to the instructions about the position things have to be it. Easy to miss.
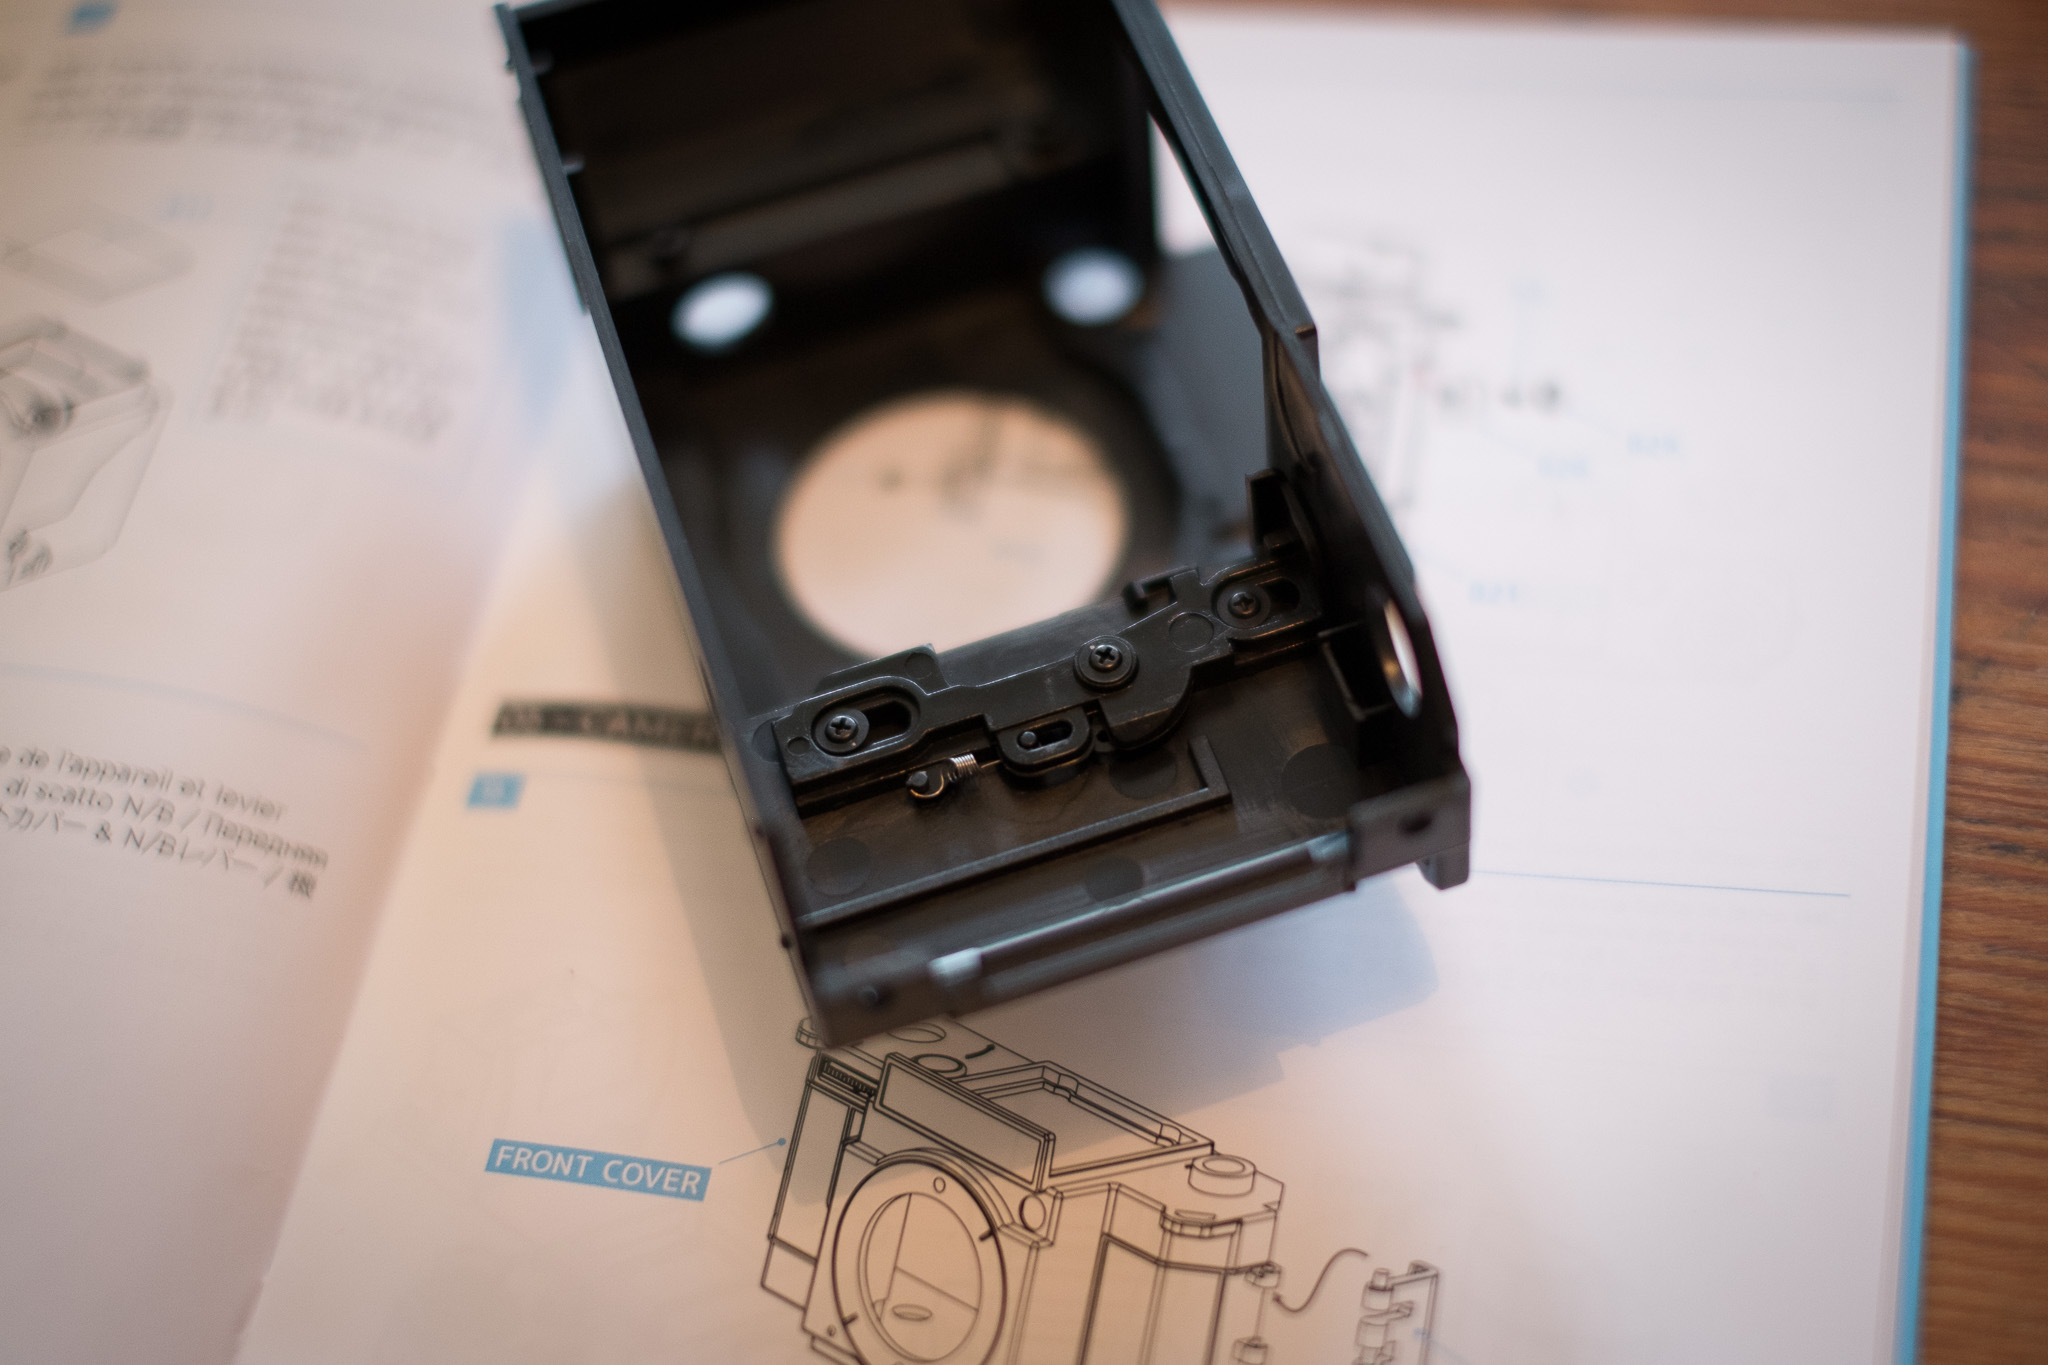
So we are actually nearly done and the next part is where you start assembling the parts together to make it into something that looks like a camera.
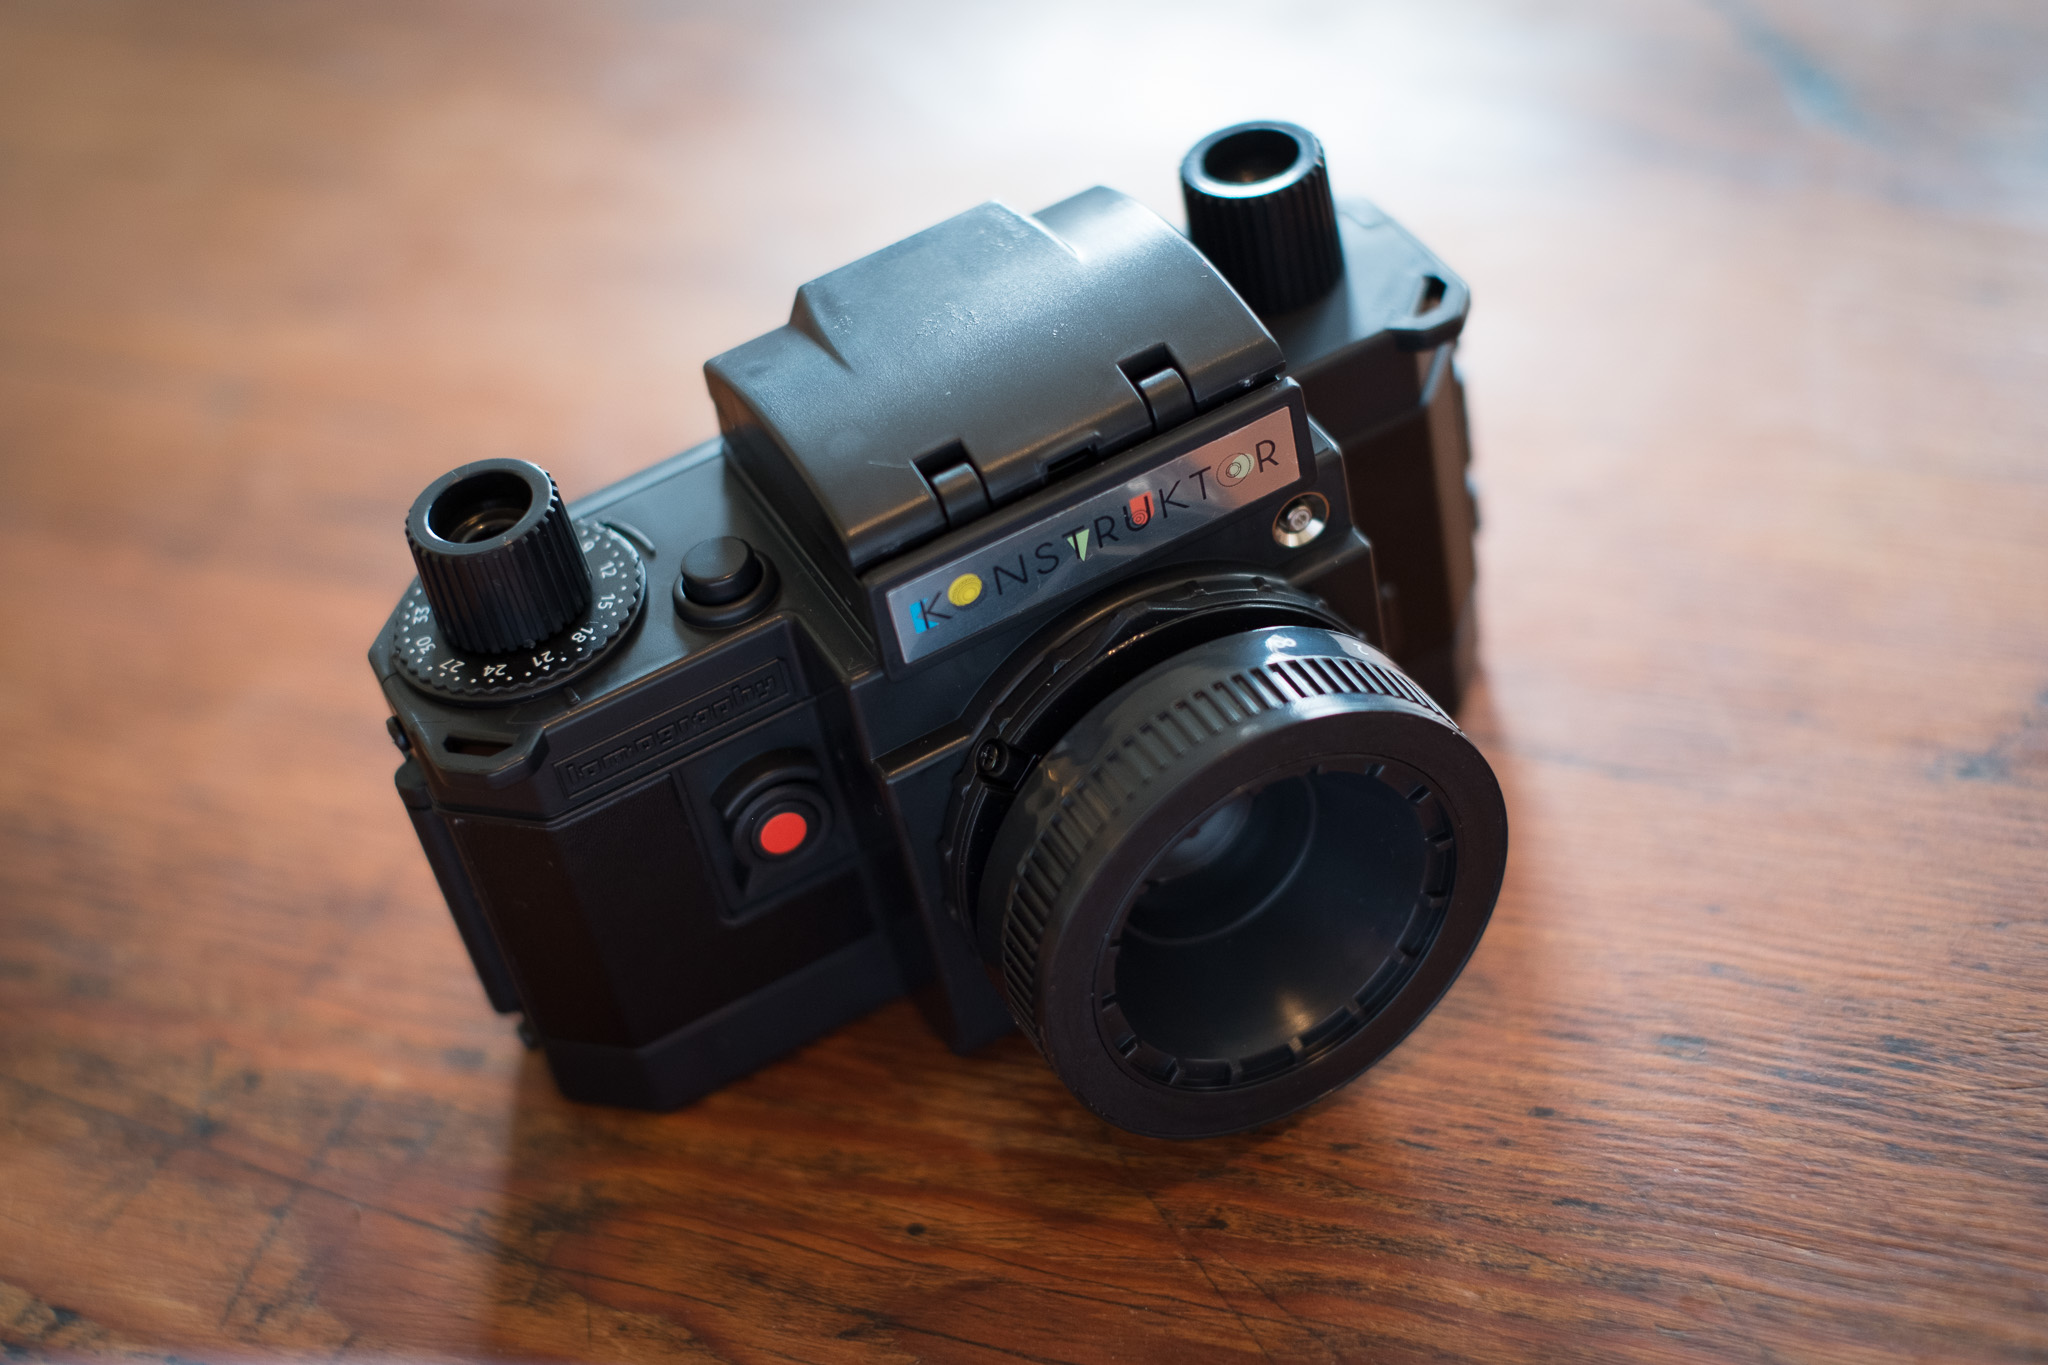
The camera has one shutter speed of 1/60th or it has a bulb setting. The lens has a limited focusing ring but it’s just enough to give you a bit of flexibility. The aperture is fixed at f10. It even has a flash sync port on it and Lomography.com sells flash accessories if you want them.
Once the main parts are all fitted together, there are a couple of small bits to fit like the film winder knobs and the mirror lever on the side. Nothing complicated. The only bit I’m not sure I’ve done right is the dial for the number of exposures as this doesn’t seem like it will stay in place the disc with the numbers might rotate making it hard to know what exposure you are on. We’ll see if that causes me a problem once I use it.
So you now have a camera looking thing so it’s just a case of adding the final touches. The kit comes with various colour leather adhesive strips that you use to customise the body of the camera. I went for the standard black, but there is red or white if you want to get a bit more colourful.
Once that’s all done, we are finished. It was a pretty simple build, you just have to have a bit of patience and take your time to work out what the instructions are telling you to do.
So, I’ve ordered some film to try it out. I went for ISO 400 film which should give me enough sensitivity with the f10 aperture and 1/60th shutter speed in the British winter weather. Once I have had a play and got some results I’ll write part 2 of this article.
One thing to remember is that this is a Lomography camera and you aren’t going to get high quality images, but that’s the attraction of this type of photography and is one of the reasons that using film is still popular. We’ll see what results I can get and see if this camera ignites a bit more love for using film for my photography.
Have you used a Lomo camera at all? What did you think?